Zip File Compression Guide
This document provides simple instructions for installing and using 7 Zip to compress and extract files
on Windows computers. It is intended for staff and clients who need to package files for storage or
transfer.
Create a Compressed File
1 Select the file or folder you want to compress
2 Right click the selection
3 Hover over 7 Zip in the menu
4 Choose Add to filename.7z for best compression or Add to filename.zip for compatibility
If you choose Add to archive use archive format 7z and compression level Normal or Maximum
Extract Files
1 Right click the compressed archive file
2 Hover over 7 Zip
3 Choose Extract Here to extract into the current folder
4 Choose Extract to FolderName to create a new folder and extract files inside it
Open an Archive Without Extracting
Right click the archive and select Open archive. This allows you to view files inside the archive and
drag files out if needed.
Create a Password Protected Archive
1 Right click the file or folder
2 Select 7 Zip then Add to archive
3 Enter a password in the Encryption section
4 Use encryption method AES 256
5 Click OK
Quick Reference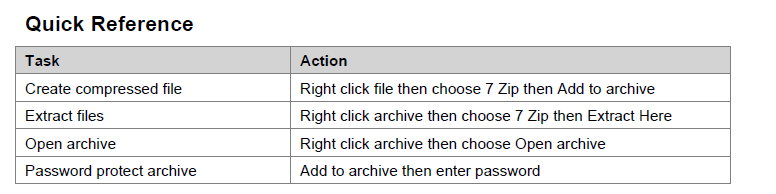
Was this article helpful?
That’s Great!
Thank you for your feedback
Sorry! We couldn't be helpful
Thank you for your feedback
Feedback sent
We appreciate your effort and will try to fix the article